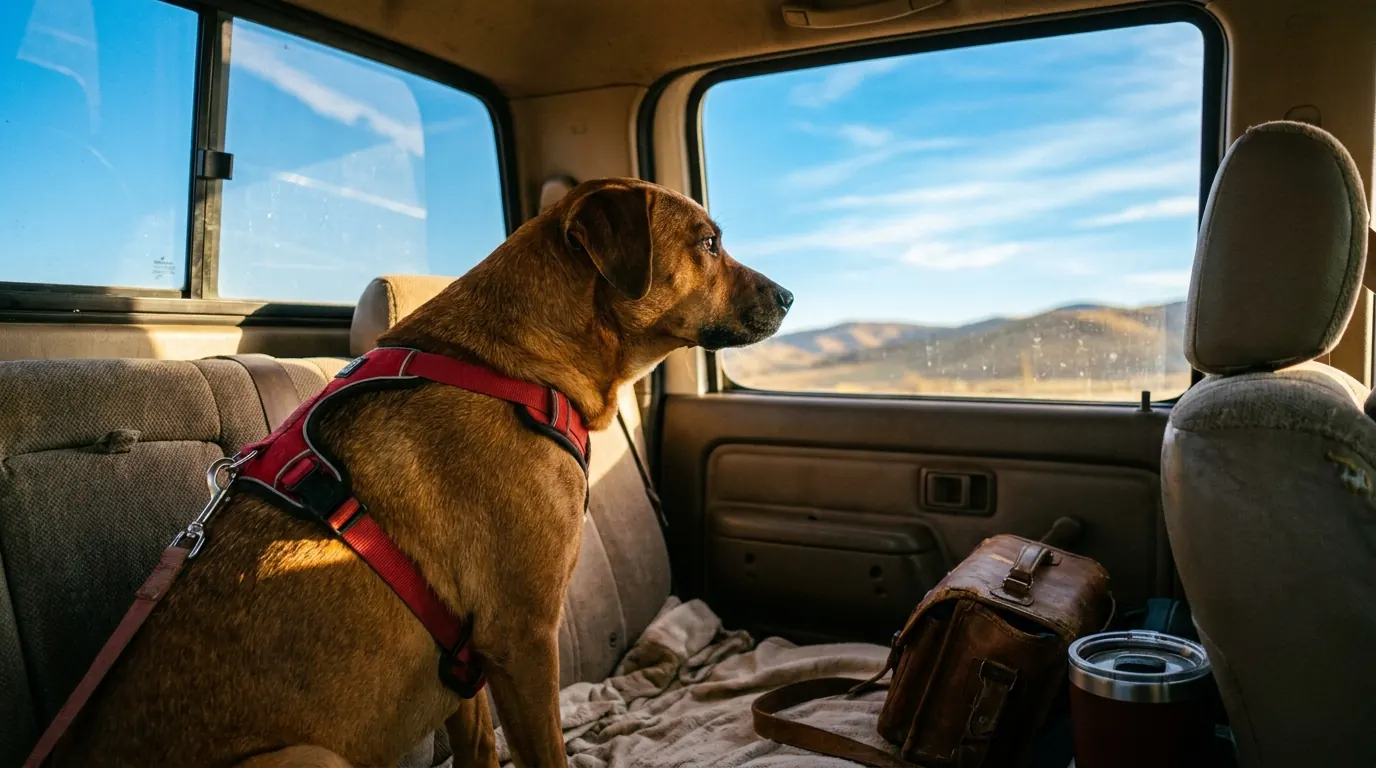
If you have ever driven cross-country with your dog, you already know that a real crash-tested harness like the Kurgo Tru-Fit is non-negotiable. I used to think the $12 clip-in seat belt adapter from the checkout aisle was good enough. It clipped to Bear's collar, it kept him from climbing into the front seat, and honestly it looked fine. Then I had to brake hard on I-25 outside of Albuquerque to avoid a driver who cut across two lanes. Bear went forward so fast that the clip just popped off. He ended up wedged between the front seats, unhurt but shaking. I was shaking too. That was two years ago. It pushed me to actually learn how car restraint systems for dogs work, and what I found out changed every road trip we do now.
This guide covers the full process I go through before every long drive with Bear (a 64-pound retriever mix, four years old) and Roux (a 28-pound cattle dog mix, seven years old). Different sizes, different temperaments, completely different fitting challenges. The principles work for both. The recommended tool throughout is the Kurgo Tru-Fit harness, which is the one I landed on after testing four others. I'll explain why at each step where it matters, but this guide is useful regardless of which crash-tested harness you own.
Before you hit the highway, make sure you have the right harness for this to work.
The Kurgo Tru-Fit is crash-tested, available in five sizes, and connects directly to your existing seat belt buckle slot. Over 7,700 reviews and rated 4.4 stars. Check today's price before your trip.
Amazon Check Today's Price on Amazon →Step 1: Choose the Right Harness Size Before Anything Else
Sizing a dog car harness is not the same as sizing a walking harness. Car harnesses are designed to distribute crash force across the chest and shoulders, which means the fit has to be snug in very specific places. A harness that is loose around the sternum will let the dog fly forward and slip through during a sudden stop. That defeats the entire point.
For the Kurgo Tru-Fit, start by measuring your dog's girth just behind the front legs. That chest circumference number is what the sizing chart is actually based on, not weight. Bear measures 29 inches behind his chest and fits a Large. Roux is 22 inches and wears a Small. The Kurgo comes in five sizes from XS to XL, so most dogs find a clean fit without needing to max out the adjusters. If you are right on the border between two sizes, size down and use the adjustment straps rather than sizing up and hoping the fit gets close. A harness that is too large cannot be tightened enough to be safe.
One thing I got wrong on my first fitting: I measured the girth standing up, then the dog shifted his stance and suddenly the harness was a full inch looser. Measure with your dog standing naturally the way they stand in the car, not in a show stance. It sounds obvious but I did it wrong twice before I figured it out.
Step 2: Fit the Harness Properly at Home, Not in the Parking Lot
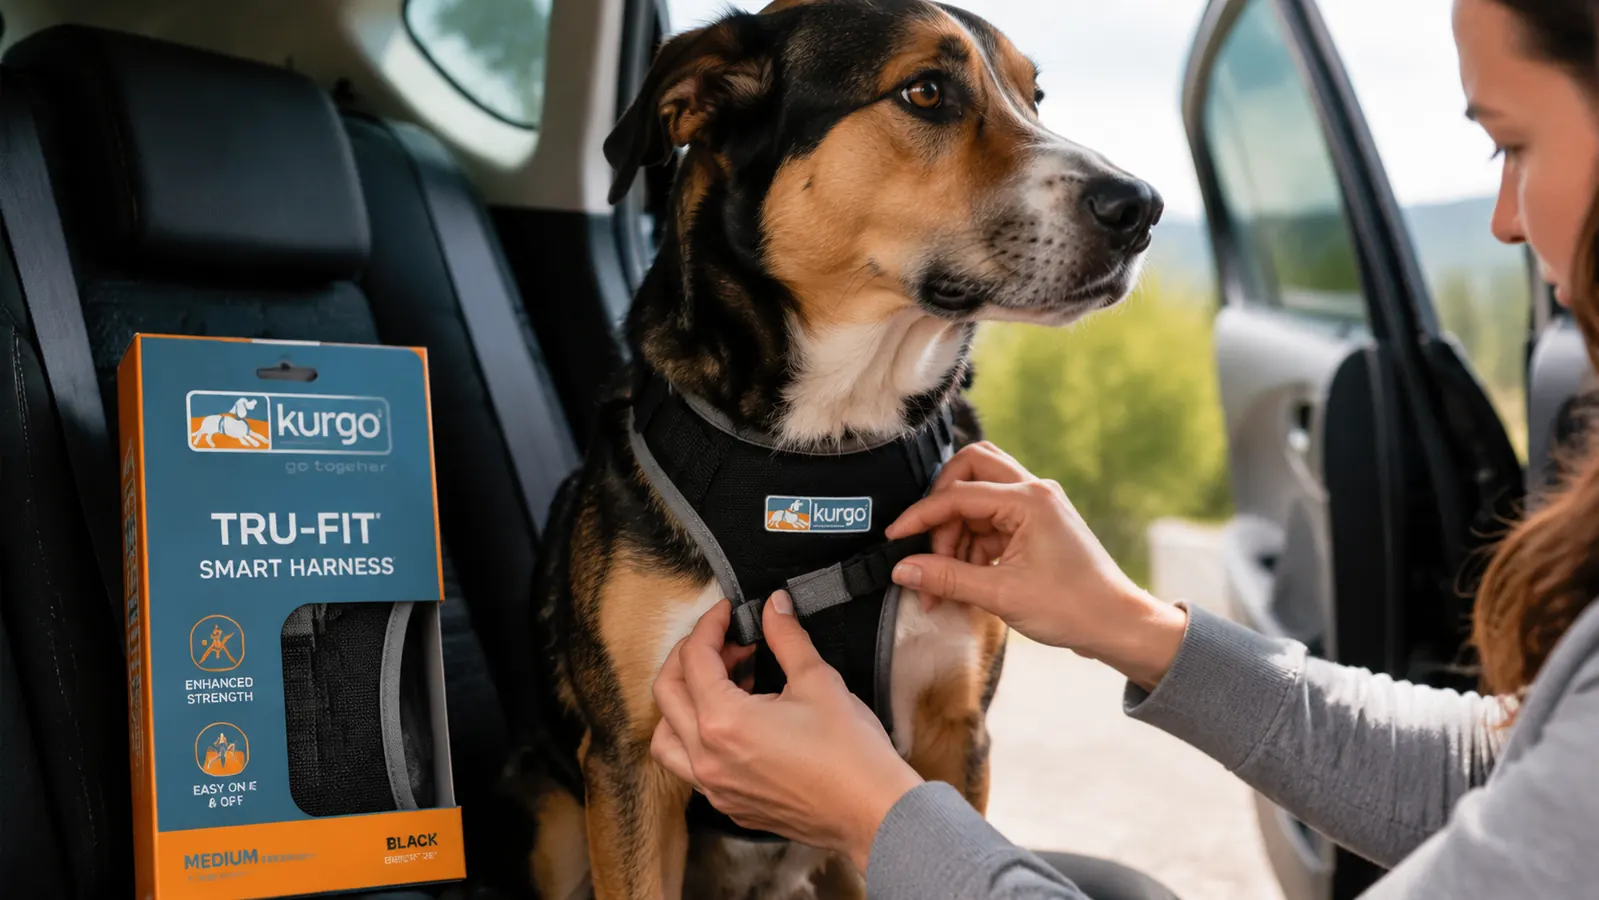
The first harness fitting should happen inside, on the floor, before you ever load the dog in the car. Dogs are more cooperative when they are not in trip-mode. I put Bear's harness on him in the kitchen the night before our first long road trip so I could take my time with each strap.
The Tru-Fit has five adjustment points: two shoulder straps, two belly straps, and a sternum connection. Slip it over the dog's head first, then clip the belly straps underneath. For the fit check, use the two-finger rule: you should be able to slide exactly two fingers under the harness at every strap, but not three. Run your fingers along the sternum piece specifically. That padded horizontal bar should sit low on the chest, not up near the throat. If it is riding high, lengthen the shoulder straps until it drops into the right position.
Check the back of the harness. The D-ring for the car tether (or leash) should sit centered between the shoulder blades, not pulled to one side. If it is off-center, one of the shoulder straps is shorter than the other. Even them out before moving on. A twisted or off-center back plate means the harness will not distribute impact force evenly.
Step 3: Connect the Harness to the Vehicle Correctly
This is the step most people skip or do halfway. The harness itself is only half the restraint system. How you attach it to the car determines whether it actually holds in a crash or a hard brake.
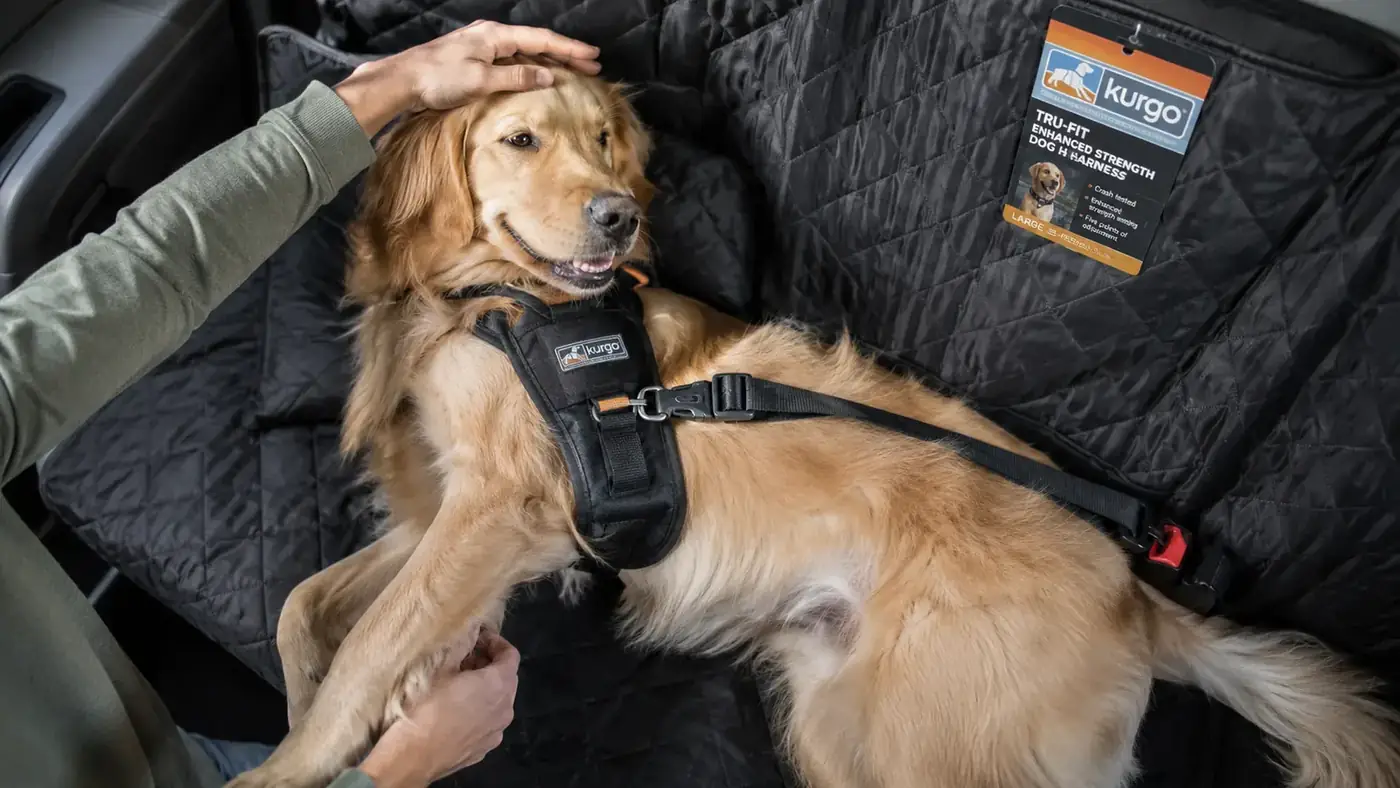
The Kurgo Tru-Fit comes with a carabiner-style zip line tether. Thread that tether through your existing seat belt webbing, then clip the carabiner to the D-ring on the dog's back. Do not clip directly to the seat belt buckle slot. Clipping through the belt itself means the webbing takes the force, which it is designed for. Clipping to the buckle slot puts the force on the buckle housing, which is not designed for a sudden 30-pound lateral jolt from an animal. The difference matters in a real stop.
The tether length also needs adjusting. It should be short enough that your dog cannot travel more than a few inches before the harness catches. For a backseat dog, I set the tether so Bear can stand, turn around, and lie down, but cannot reach the front seat gap or the rear window shelf. Roux gets a shorter tether because she has a habit of trying to squeeze between the front seats when she is anxious. If your dog does this, shorten the tether length until that path is just barely out of reach. Annoying, yes. Worth it, absolutely.
Step 4: Do a Test Drive Before the Long Trip
Before any trip longer than two hours, we do a 20-minute shakedown drive in the neighborhood. I do not skip this, even if we just used the harness last weekend. A shakedown drive tells you things that a living-room fitting cannot.
What to listen and watch for: Does the harness twist or shift when the dog changes position? Does the tether go taut when they lie flat, which would mean it is too short and will put constant tension on the harness during driving? Can the dog sit up and look out the window without the neck piece riding up into their throat? Does the dog seem comfortable or are they pawing at it? If any of these are off, stop, adjust, and try again. Do not assume it will settle during the drive.
I also check whether the car tether is still threaded through the belt correctly after the dog has moved around for 10 minutes. Sometimes Bear manages to step on the belt in a way that loops it around his leg and shortens the effective tether. After the shakedown, I do a quick visual check from outside before we pull onto the highway.
The shakedown drive is 20 minutes I invest to get six hours of actual highway confidence. I stopped skipping it the day I found the tether had wrapped around Bear's leg on a mountain drive and he had been trying to tell me for 40 miles.
Step 5: Build a Rest Stop Routine That Does Not Undo the Safety Setup
Most dog car accidents I have heard about do not happen during the drive. They happen at rest stops, when people open the car door before the dog is leashed and the dog bolts into highway traffic. This is where a dual-purpose harness pays off.
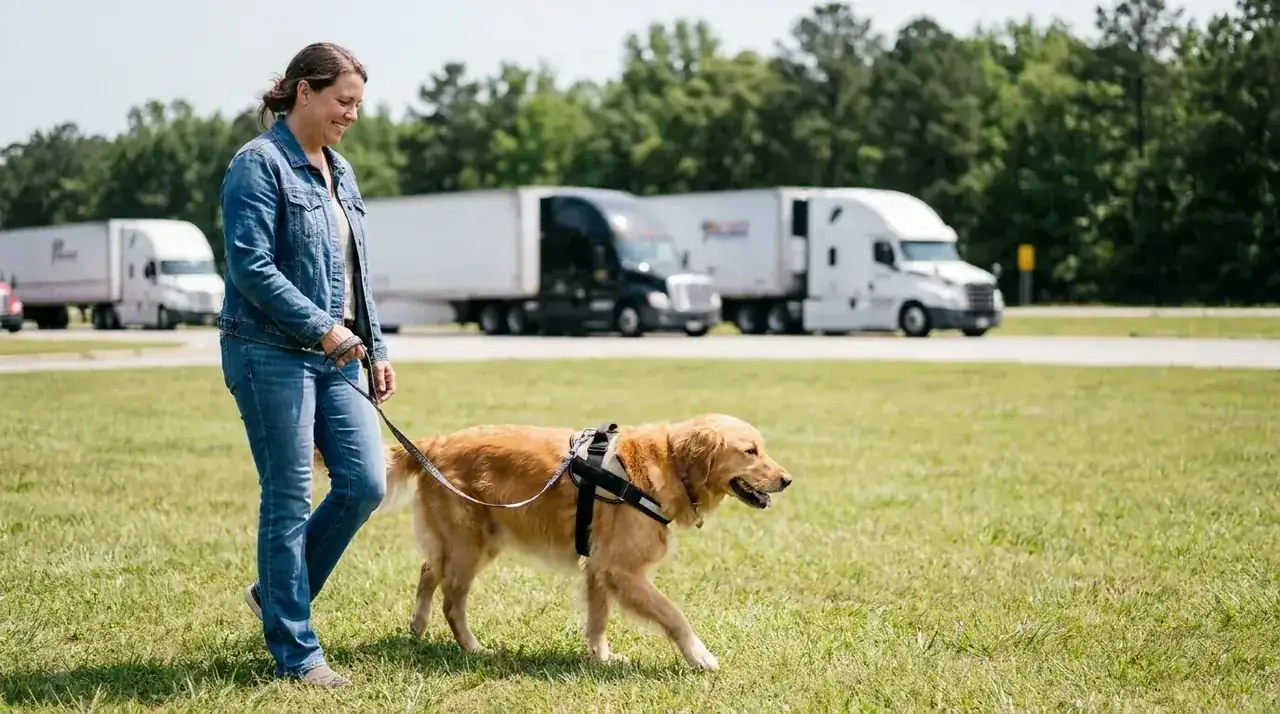
The Kurgo Tru-Fit doubles as a walking harness, which means at every rest stop I clip a leash directly to the back D-ring before I open the car door. The sequence is: crack the window, reach in, clip the leash, then open the door. Never open the door first. I do this in about three seconds now but the first month of road tripping I had a sticky note on the dashboard reminding me: leash, then door.
At busy truck stops, I also shorten the leash to about two feet before we exit the vehicle. Rest stops are high-stimulation environments: loud diesel engines, unfamiliar dogs, strong food smells, big vehicles pulling in fast. Even Bear, who is a pretty calm traveler, has surprised me with a sudden lunge at a gas station when a semi airbraked 30 feet away. A short leash gives you much better control during those first few seconds outside the vehicle when the dog is highly stimulated.
After the rest stop walk, I do the same check I did at home before re-securing the harness: two-finger check at the chest, confirm the D-ring is centered, re-thread the tether through the belt. Takes under two minutes. Then we drive.
What Else Helps on Long Drives
The harness handles the safety side. But there are a few other things that make a real difference on drives over four hours. A backseat hammock under the dogs keeps them from sliding on turns and gives them a more stable surface to lie on, which reduces restlessness. For dogs who tend to pace, a familiar blanket or an unwashed shirt on the seat helps them settle. For anxious dogs, the harness itself can actually be grounding, the same way a snug wrap can calm some dogs during thunderstorms, because it gives them something consistent to feel against their body.
Water stops every 90 to 120 minutes matter more than most people plan for. I keep a collapsible bowl clipped to the outside of my bag so I can give the dogs water at every fuel stop, not just when I remember it. Dehydration makes dogs more anxious in the car, which makes them more likely to pace or try to escape the harness. The water stop is not just hydration, it is also a mood reset.
One more thing: if you have a dog who has never ridden in a crash-tested harness before, do not debut it on a five-hour drive. Wear the harness around the house for a couple of days, then do a few short trips. Roux absolutely hated the harness the first time I put it on her. She stood completely still, refused to walk, and gave me a look I can only describe as betrayed. By the third short trip she forgot it was there. By the first long road trip she would hop in the car and stand for fitting like it was just part of the ritual.
If you do not have a crash-tested harness yet, this is the one I would start with.
The Kurgo Tru-Fit is the harness I use on every trip with Bear and Roux. Crash tested, fits most breeds in five sizes, doubles as a walking harness at rest stops, and the tether threads through existing seat belts so there is nothing extra to buy. Check today's price on Amazon.
Amazon Check Today's Price on Amazon →